
Have you ever wondered how website owners inject star rating to the search results?
Well, they use some special types of meta tags called Schema from shema.org. Along with the star rating, you can display custom images, addresses, phone numbers, etc. using the same.
But most of us don’t like to play with the codes of theme files. In such a scenario, WP plugins come to our rescue to serve the purpose.
Add Star Ratings to Your WordPress Website with Schema?
I know you are desperate to find out how it is done. But let me ask you why we go for the Schema method.
What if the star rating is enabled through any other way?
The problem lies in search results. In case you go with any other option, the rating can be seen on the site. But not on SERPs!
Search engines can read Schema tags and display the additional elements (like stars, address, etc.) accordingly.
For the sake of convenience, I choose to do the same with a plugin. What we use here is called All In One Schema.org Rich Snippets, which has downloaded nearly 50,000 times.
You can follow the steps given below to add star ratings to your WordPress website with the schema.
Step 1: First, you have to sign into your WP dashboard. Don’t forget to give the proper credentials for glitch-free login.

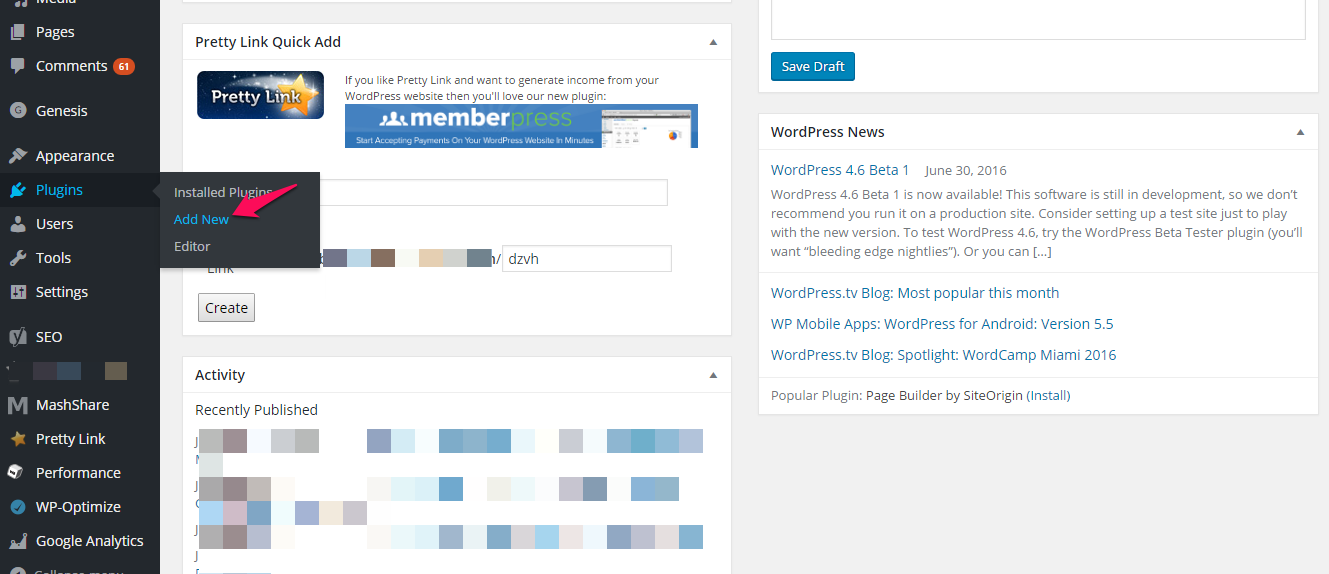
Step 2: As we are going to install a new plugin, hover your mouse over Plugins on the left navigation bar. You can see three options there; Installed Plugins, Add New and Editor. Of these, the second one should be your pick.
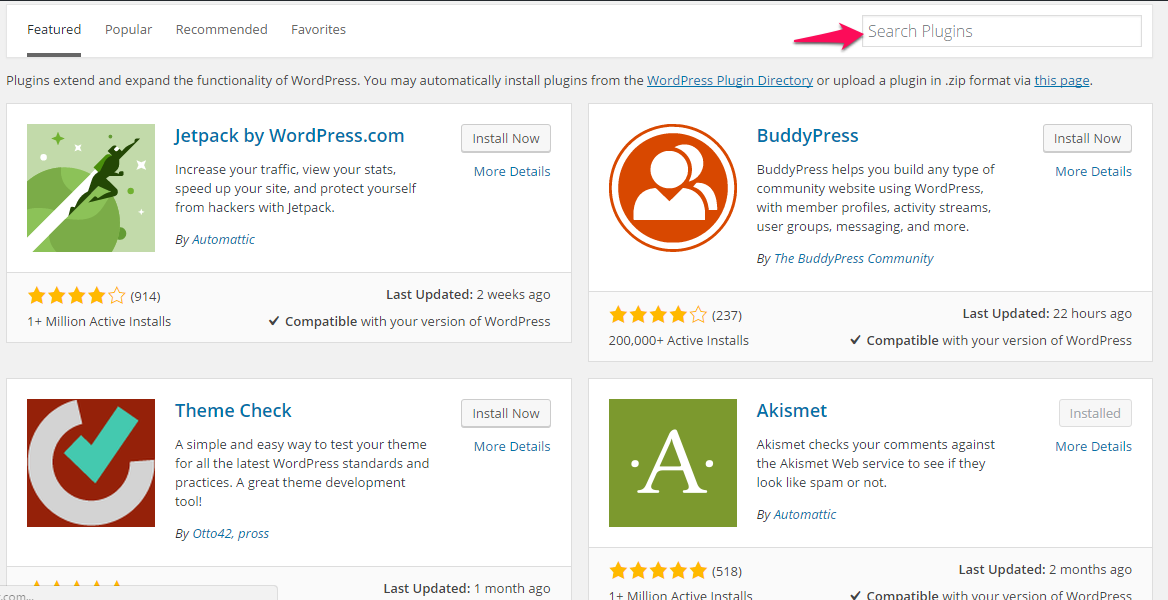
Step 3: You can see a plugin browsing page like the image given below. To find All In One Schema.org Rich Snippets, you should enter the name into the given field on the top right portion of the screen.
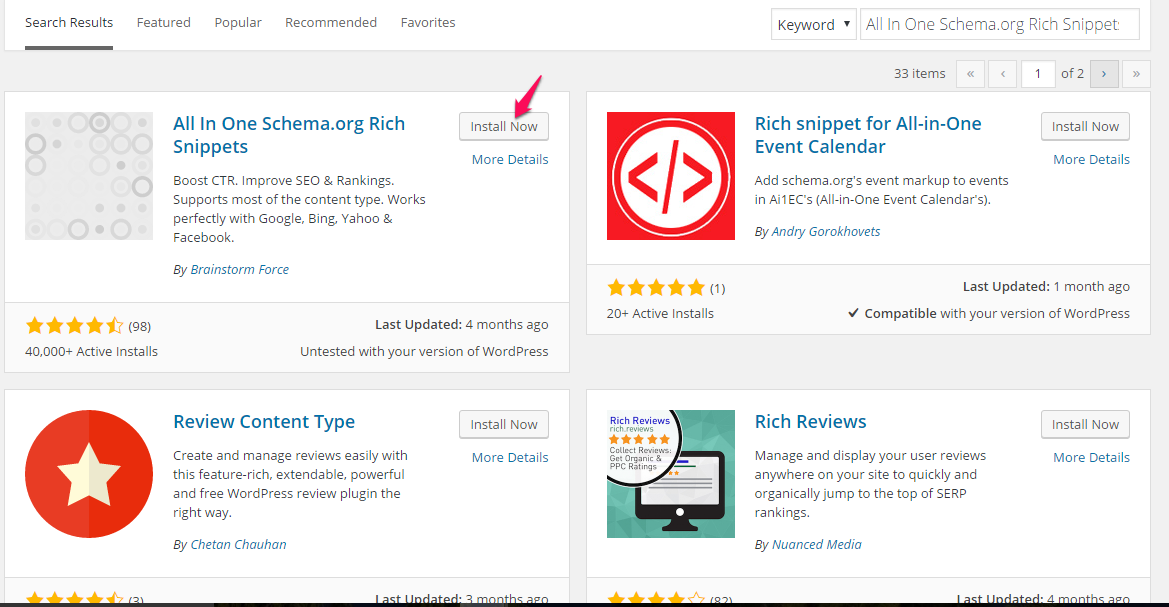
Step 4: The first one on the result page will be our desired plugin. Just click on install to get the same for your WordPress site.
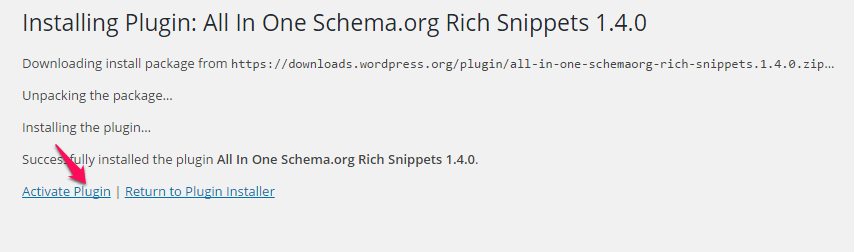
Step 5: The installation will not last longer than a few seconds. Then from the upcoming screen, you must choose Activate plugin to make it functional.
Step 6: Upon activation, you can see a new menu on the navbar called Rich Snippets.

Clicking on it will bring you to the plugin settings page where you can configure and customize the appearance.
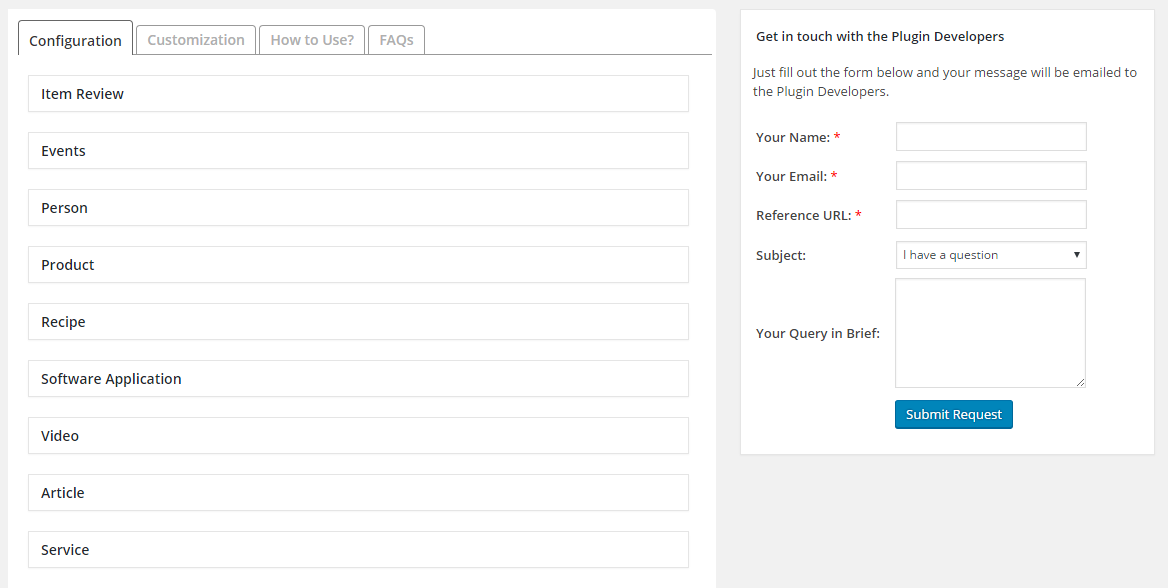
Step 7: Now you know the installation and configuration. And, it’s time for you to unleash the method of inserting the star rating.
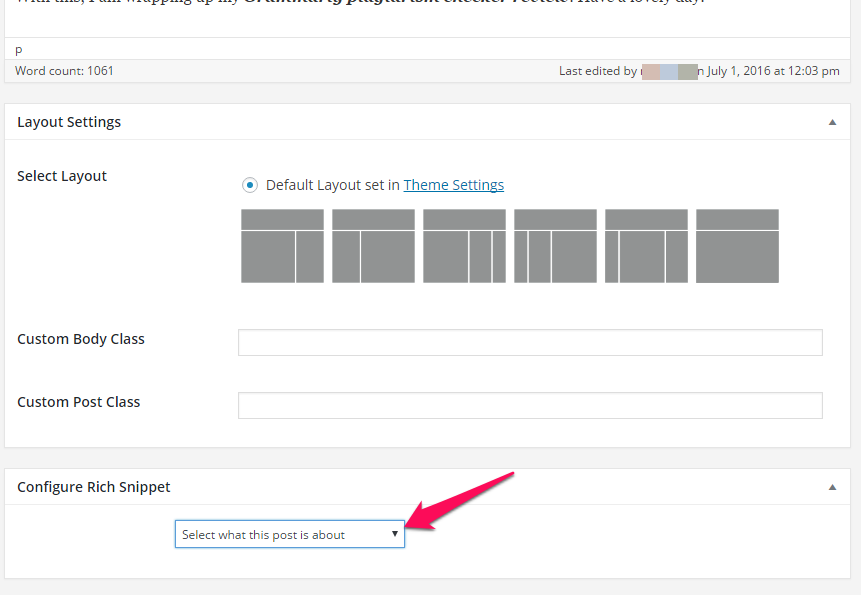
Open any existing product review or select a New Post option. You can see a featured titled Configure Rich Snippets with a drop-down menu beneath it.
Step 8: You have to choose Product from there.
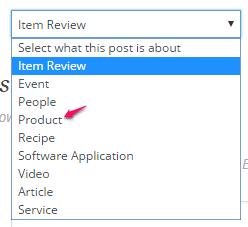
In case you don’t want to provide details but need star rating only, Item Review option will come to your rescue.
Step 9: Say you chose Product from the drop-down list. Then, you will get a set of fields to fill.

Your Rating: – Set the star rating based on your experience and quality of the product.
Brand Name: – Name of the brand that sells the product you are reviewing. For example, Samsung
Product Name: – The exact name of the product. Say Galaxy S7 Edge.
Product Image: – Either you can upload an image or choose from your WP media library. Click on the Upload File button to do so.
Product Price: – Enter the cost of the product.
Currency: – You have to insert the code of your currency here; USD for US dollars, INR for Indian rupees, EUR for Euros and so on. It supports almost all the currencies.
Availability: – Select from Out of Stock, In Stock, In Store Only and Pre-Order.
Step 10: Once you finish with the Review fields, click on Publish (for new posts) or Update (for old posts).
Hurray! You have added star ratings to your WP site now.
Wrapping Up
So that’s all!
I know there are quite a number of Schema rating plugins available for free as well as price. But the core function and setting up remains the same in everything.
Don’t forget to seek my help in case you encounter any review rating issues.
